Fiber Laser Cutting Design Guide
The complete Xeon NC reference for designing production-ready flat parts
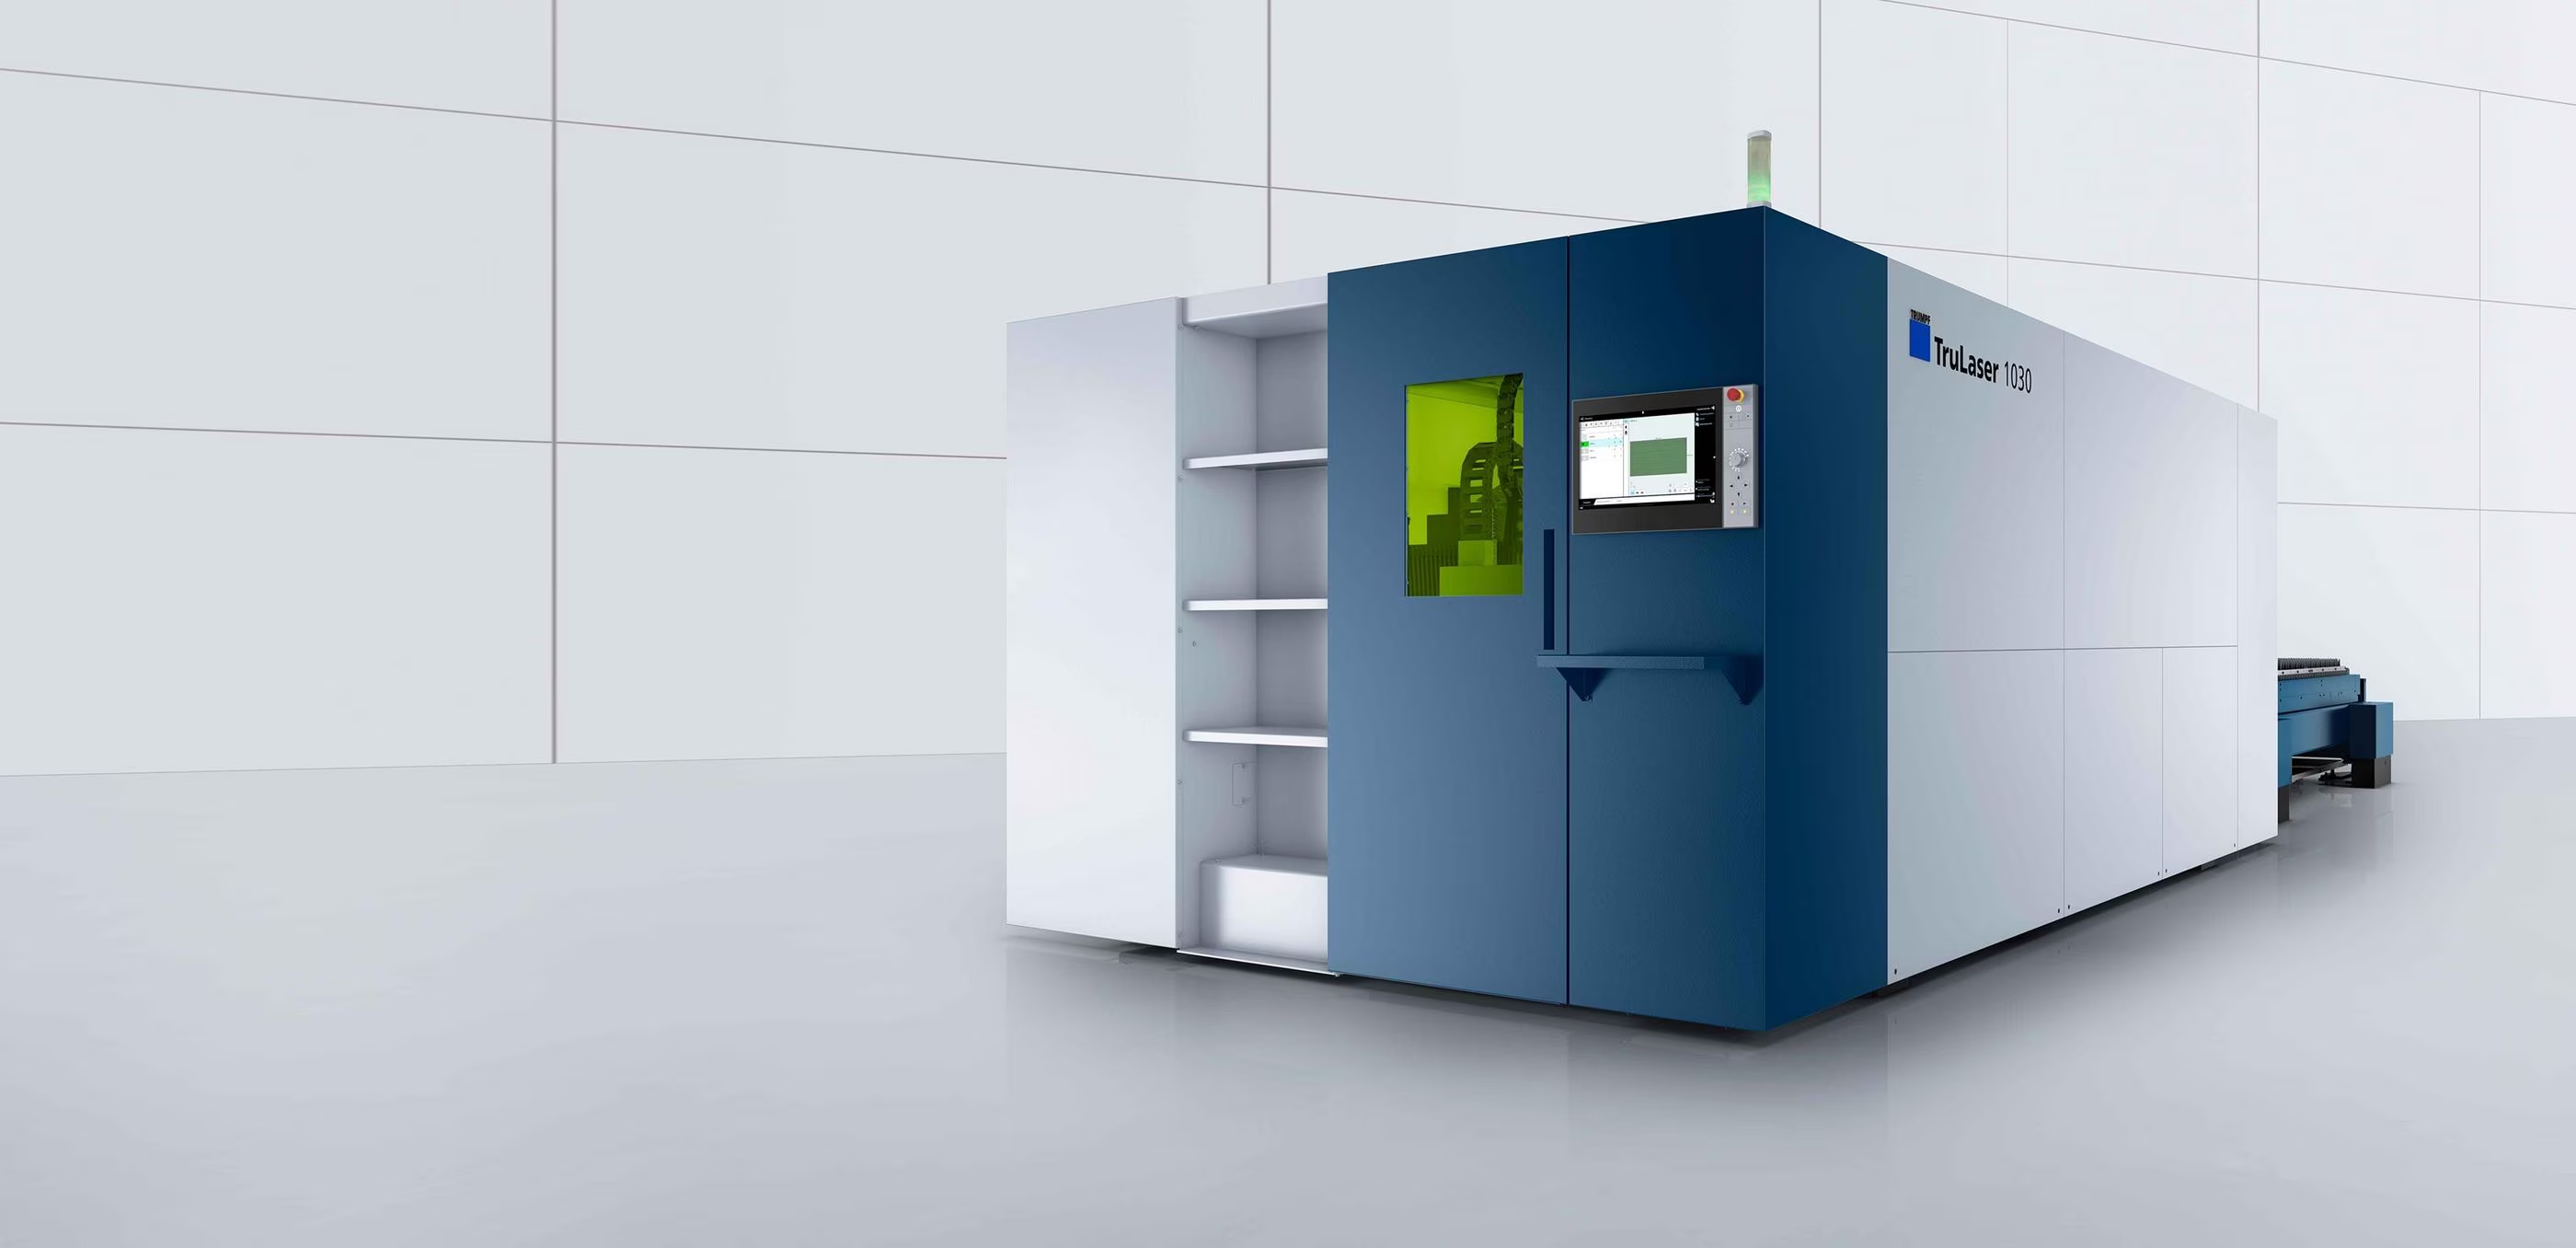
This guide covers every design rule and practical constraint you need to prepare your flat parts for our TRUMPF fiber laser systems. From minimum hole diameters to file format requirements, this is the single reference document for submitting files with zero back-and-forth.
Each rule below matches a row in the Laser cutting tab of our material pages. Every rule has a drawing, the rule itself, why it matters on the machine, and how to design for it. If you follow them, your parts will be quoted faster, cut cleaner, and arrive exactly as your CAD model specifies.
Design Rules at a Glance
The same rows as the laser tab on each material page. The middle column is the worked example; the right column is the rule that scales it to any gauge.
| Rule | 0.125″ 5052-H32 | How it scales |
|---|---|---|
| R-01 Max part size | 119″ × 59″ | Sheet size − 1.00″ each way (0.50″ margin per side) |
| R-02 Min part size | 0.250″ × 0.250″ | Same for every stock; smaller parts ship on a tabbed skeleton |
| R-03 Min recommended hole | 0.063″ | Per catalog stock. On most stock this is ½ T; thick steel plate can need up to 1 T |
| R-03 Min hole | 0.031″ | Per catalog stock. Smaller holes are laser marked, not cut |
| R-04 Min slot / channel width | ≥ 0.125″ | 1× thickness (0.020″ floor) |
| R-05 Min wall between features | ≥ 0.250″ | 2× thickness (0.030″ floor), also hole-to-edge |
| R-06 Inside corner radius | ≈ 0.015″–0.025″ | Set by the beam. It grows with thickness, to about 0.040″ on plate |
| R-07 Laser kerf | 0.008″–0.010″ | 0.006″ thin gauge to 0.014″ plate. We compensate for it, so you don't need to |
| R-08 Cut tolerance | ±0.005″ | Every laser-cut dimension, at every gauge |
| R-09 Thickness tolerance | ±0.006″ | Set by the mill standard (ASTM B209 here); widens with thickness |
| R-10 Tab width | ≥ 0.250″ | 2× thickness; slot = tab + 0.005″–0.020″ total clearance |
| R-11 Through-cut text | ≥ 0.250″ tall | Strokes and bridges ≥ 1× thickness; engraving down to 0.100″ |
Accepted File Formats
We accept 2D vector geometry in industry-standard formats. The closer your file is to clean, production-ready geometry, the faster it moves through our system.
Accepted formats
- DXF required for flat 2D sheet metal profiles
- STEP / STP required for 3D models with bends or formed features
File preparation rules
- Single closed contour: Every cut profile must be a fully closed polyline or spline. Open endpoints (drawing B) leave the software unable to tell which side is part and which is scrap. The path never closes, so the part never comes free.
- No duplicate lines: Stacked or overlapping geometry (drawing C) makes the laser cut the same path twice. The second pass re-melts the edge, widens the kerf and leaves a burned, rough face.
- No construction layers: Remove dimensions, notes, center marks, and hatching from the cut geometry layer. Anything left on that layer gets cut.
- Units: Confirm your DXF is saved in inches or millimeters, not as a unitless drawing. A unitless file can import 25.4× too big or too small.
Part Size Limits
A blank has to fit on the sheet with a margin, and it has to be big enough to sit on the slat bed through the cut. Both limits come from how the machine holds the sheet, not from the beam.
Maximum part size
Sheet − 1.00″The rule
Leave 0.50″ on all four sides of the sheet. Maximum part length is the sheet length − 1.00″, and maximum width is the sheet width − 1.00″. A 120″ × 48″ sheet gives a 119″ × 47″ blank.
Why it matters
Mill sheet edges are sheared, can be slightly out of square, and pick up handling damage. The margin keeps your part edge on clean, flat material. It also leaves the skeleton a continuous frame, so the sheet stays rigid and comes off the bed in one piece.
Design it right
- These are flat blank sizes. Measure a formed part by its unfolded flat.
- Check the sheet sizes we stock for your material on its material page.
- For a part near the limit, ask before you design around a larger sheet.
Minimum part size
0.250″ × 0.250″The rule
The smallest blank we cut free is 0.250″ × 0.250″, for every material and thickness.
Why it matters
The sheet sits on the tips of steel slats. Once a part is cut free it has to bridge those tips. A smaller part drops between them and is lost in the scrap. Worse, it can tip up on edge into the path of the cutting head and cause a crash or a scrapped sheet.
Design it right
- Keep each blank at least 0.250″ in both directions.
- Smaller parts are still possible: we cut them on a tabbed skeleton, held by micro-joints, and you snap them out.
- See Min / Max Part Sizes for every stock.
Minimum Feature Sizes
Laser cutting has physical limits governed by beam diameter, kerf width, and material thickness. Designing below these dimensional floors risks burning, poor edge quality, or physical inability to separate the feature from the sheet.
Minimum hole size
Per catalog · 0.063″ / 0.031″ hereThe rule
Each stock has two catalog limits. The Min Recommended Hole Size is the size to design to. The Min Hole Size is the smallest we cut. On 0.125″ 5052 they are 0.063″ and 0.031″. Below the minimum, the quote system converts the hole to a laser-marked center.
Why it matters
Every hole starts with a pierce, a crater wider than the beam, and a lead-in to the contour. In a small hole those fill most of the opening. Heat builds up, the wall tapers and dross collects on the underside. A hole at the recommended size cuts with a clean, straight wall.
Design it right
- Design to the recommended size where you can.
- Between the two limits, expect taper and some roughness. Ream or drill critical fits.
- For a hole below the minimum, leave it in. We mark its center so you can drill it after.
The limits vary by stock, so one thickness multiplier does not cover every material. These examples show the catalog values:
| Stock example | Min Recommended Hole Size | Min Hole Size |
|---|---|---|
| 0.063″ 5052-H32 | 0.032″ | 0.016″ |
| 0.125″ 5052-H32 | 0.063″ | 0.031″ |
| 0.188″ 5052-H32 | 0.094″ | 0.047″ |
| 0.625″ 6061-T6 | 0.375″ | 0.188″ |
| 0.625″ A36 mill finish | 0.625″ | 0.313″ |
Why does a laser need a minimum hole size? See the pierce and lead-in in CAM, understand the two catalog limits, and learn how laser-marked centers support drilling smaller holes afterward. Every stock is in the minimum hole size chart.
Minimum slot or channel width
≥ 1× T · 0.125″ hereThe rule
Make every slot, channel and narrow cutout at least as wide as the sheet is thick, and never under 0.020″.
Why it matters
Assist gas drives the molten metal down and out through the bottom of the cut. In a slot narrower than the sheet is thick, the melt cannot get out fast enough. Dross bridges the bottom of the gap and welds the slug back into the slot, so it has to be knocked out by hand, if it comes out at all.
Design it right
- Measure slot width across the narrow direction. Length can be anything.
- Need a narrower gap? Cut it wider and close it by forming, or machine it after.
- Tab slots follow R-10.
Minimum wall between features
≥ 2× T · 0.250″ hereThe rule
Keep at least 2× thickness of solid material between two cuts: hole to hole, cutout to cutout, and hole to the part edge. The floor is 0.030″ on the thinnest gauges.
Why it matters
A thin web (the "bridge" of material between two cuts) takes heat from both cuts at once. It has too little metal to carry that heat away. It bows out of plane, its edges burn back, or it breaks while the part is still on the bed. A hole too close to the edge does the same thing to the edge and leaves a visible bulge.
Design it right
- Check the narrowest point, not the average.
- Formed parts also need distance from the bend. See the hole-to-bend distance guide.
- Webs that carry load should be wider than the minimum.
Corners and Internal Radii
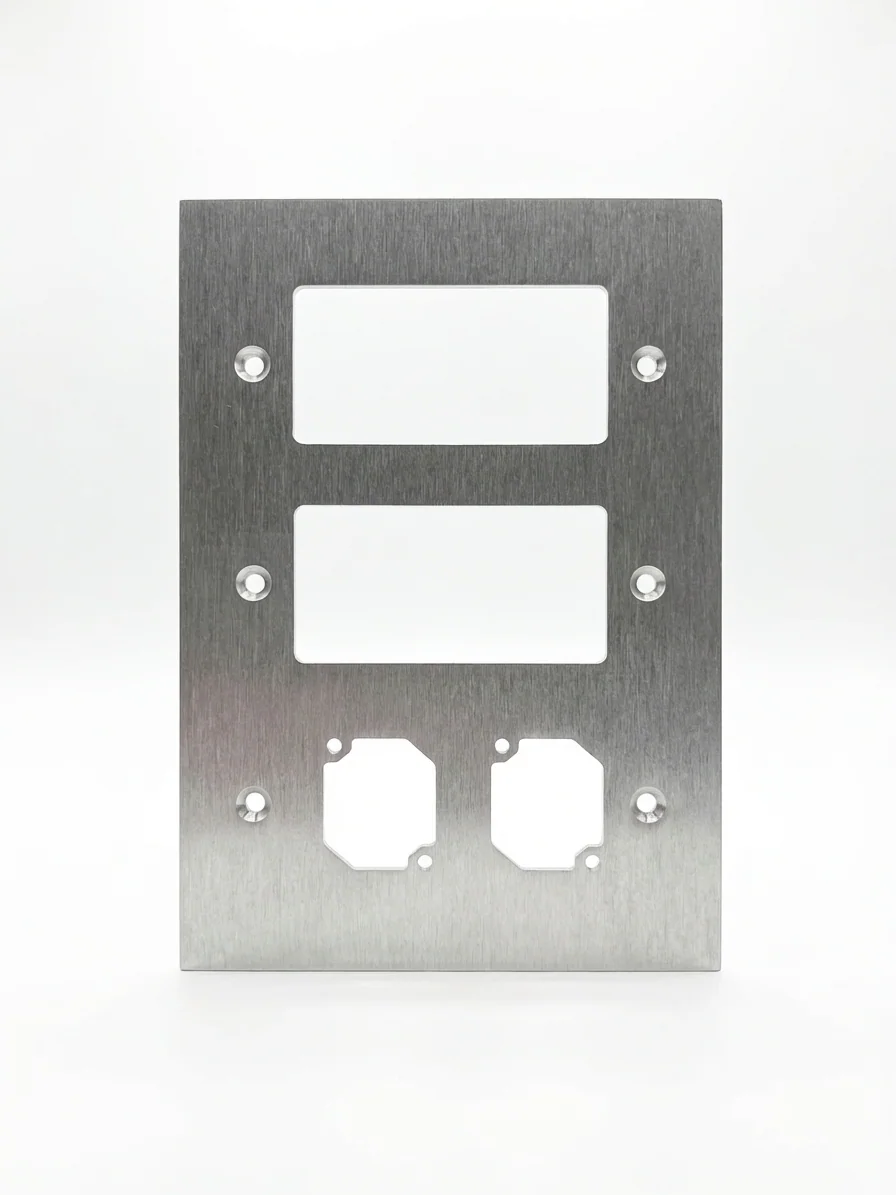
A laser beam has a physical diameter. This means that every internal corner will inherently carry a small radius. The beam simply cannot cut a mathematically perfect 90° interior angle.
Practical radius guidance
- Thin gauge internal corners will carry approximately a 0.010″ – 0.015″ natural radius
- Mid gauge internal corners will carry approximately a 0.015″ – 0.025″ natural radius
- Thick plate internal corners will carry approximately a 0.025″ – 0.040″ natural radius
Inside corners and relief
R ≈ beam radiusThe rule
Every inside corner of a cutout comes out with a small radius equal to the beam's radius. Outside corners of the part stay sharp. To fit a square part into a cut opening, add a relief at each inside corner.
Why it matters
On an outside corner the material is on the inside of the turn, so the beam leaves a sharp point. On an inside corner the material is on the outside of the turn, so the edge follows the round of the beam. A square tab, bracket or bought-in part then rides up on those radii and will not seat flush.
Design it right
- Add a dog-bone (circle centered on the corner) or a mouse-ear (circle pushed into one side), larger than the natural radius for your gauge.
- Only relieve corners that mate with something. Elsewhere the natural radius lowers stress.
- Draw the corner sharp if you like. We cut the radius either way.
Kerf and Tolerances
Three numbers decide how close the part is to your model: the kerf the beam removes, the tolerance on the cut, and the tolerance on the sheet itself. The first we handle for you; the other two you design around.
Laser kerf and compensation
0.008″–0.010″ hereThe rule
The kerf is the width of material the beam removes. Our CAM offsets the beam by half the kerf, outside the outer profile and inside every hole. Draw the part at its finished size and do not add kerf yourself.
Why it matters
If the beam ran on your line, every outside edge would come out half a kerf small and every hole half a kerf big. Compensating in your file as well doubles the offset. A pre-compensated part ends up off by a full kerf, 0.008″–0.010″ at this gauge, which is outside the ±0.005″ tolerance.
Design it right
- Send nominal geometry, exactly as the part should measure.
- Expect a slight taper on thick plate: the cut is a little wider at the top.
- More in the kerf guide.
| Sheet thickness | Typical kerf |
|---|---|
| Up to 0.060″ | 0.006″ – 0.008″ |
| 0.061″ – 0.135″ | 0.008″ – 0.010″ |
| Over 0.135″ | 0.010″ – 0.014″ |
Cut tolerance
±0.005″The rule
Laser-cut profiles, hole diameters, hole-to-hole spacing and edge-to-hole distances hold ±0.005″ as standard, with no extra cost or setup.
Why it matters
A ±0.005″ band is 0.010″ wide, and fits have to be designed with that in mind. A 0.250″ hole can measure 0.245″ to 0.255″, so a 0.250″ pin may not go in. Two parts that both come out at the high side of the band can stack into a tight assembly.
Design it right
- Give every fit clearance for the band on both parts.
- For press fits and bearing bores, cut undersize and ream.
- Need tighter than ±0.005″? Mark the critical dimensions on a drawing and we will review them.
| Dimension Type | Standard Tolerance | Notes |
|---|---|---|
| Profile dimensions | ± 0.005″ | Outer contours and internal cutouts |
| Hole diameters | ± 0.005″ | Circular features; kerf-compensated |
| Hole-to-hole spacing | ± 0.005″ | Center-to-center distances |
| Edge-to-hole | ± 0.005″ | Hole center to nearest edge |
| Flatness | Per material | Sheet flatness is stock-dependent; thin gauges may exhibit minor bow |
Thickness tolerance
±0.006″ hereThe rule
Sheet is bought to a mill standard with its own thickness band: ASTM B209 for aluminum, A568 for carbon steel sheet, A6 for plate, A924 for galvanized and A480 for stainless. For 0.125″ 5052 on a 48″-wide sheet the band is ±0.006″. The laser does not change it.
Why it matters
Anything that fits around the sheet's thickness sees the full band. That includes tab-and-slot openings, stacked assemblies and parts that slide into a channel. A sheet at the top of the band uses up most of a close-fit clearance. Thickness also shifts bend springback and the flat-pattern length slightly.
Design it right
- Size slot openings from the maximum thickness, not the nominal.
- Check the Thickness Tolerance row on your material page; it is wider on 60″ sheet and thicker plate.
- Ask for the mill certificate if the measured thickness matters.
Tab-and-Slot Design
Tab-and-slot joints are one of the most popular self-fixturing strategies in laser-cut assemblies. They align parts for welding or fastening and dramatically reduce assembly time.
Tab-and-slot joint
Tab ≥ 2× T · 0.250″ hereThe rule
- Tab width: at least 2× thickness.
- Tab length: the receiving plate's thickness, plus 0.005″–0.010″ proud for welds.
- Slot: tab width and sheet thickness, each plus the fit's total clearance. Use 0.005″–0.010″ for a close fit or 0.010″–0.020″ for a slide fit.
For the worked numbers at your gauge — tab width, tab length, slot width and height, and the clearance for each fit, all drawn to scale — see the Slot & Tab Size Chart. Every clearance there is stated as total clearance between the tab and the slot wall.
Text and Engraving
Laser cutting can produce text, logos, and part markings directly on the sheet in two ways: cut all the way through, or engraved into the surface.
Cut and engraved text
Cut ≥ 0.250″ · engraved ≥ 0.100″The rule
Through-cut lettering should be at least 0.250″ (6 mm) tall, with strokes and bridges no thinner than the sheet. Engraved text marks the surface only and can go down to about 0.100″ (2.5 mm).
Why it matters
Closed letters such as O, A, B, D, P, Q and R and the numbers 0, 4, 6, 8 and 9 have a center island. Cut through, nothing holds the island, so it drops out and the letter reads as a hole. Thin strokes break the wall rule (R-05) and burn away.
Design it right
- Use a stencil font, or add bridges at least 1× thickness wide.
- Engrave part numbers, revisions and serials. Through-cut is for signage and decorative panels.
- Convert all text to outlines before you export.
Nesting and Gang-Sheet Strategies
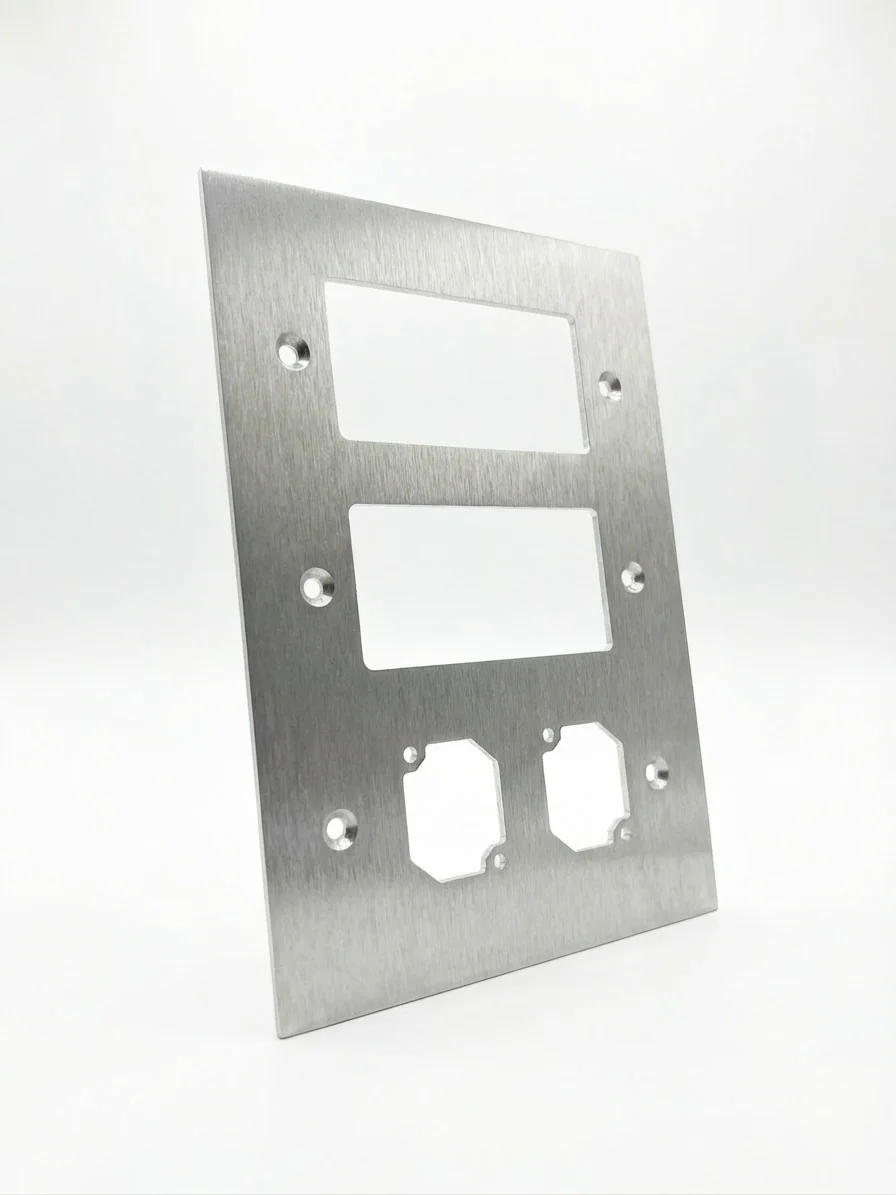
After your geometry is validated, it is nested onto a standard sheet size. Nesting is the algorithmic process of arranging parts to maximize material utilization while maintaining cut quality and skeleton stability.
What we optimize for
- Material utilization: Higher nest efficiency means less waste and lower per-part cost.
- Cut sequence: The order in which parts are cut affects heat distribution and skeleton rigidity.
- Common-line cutting: Where appropriate, adjacent parts share a single cut line, eliminating redundant passes.
- Microtabs: Small retaining bridges can be added to prevent small parts from tipping into the slat bed during cutting.
Common-line cuts and micro-joints
Our call · tell us your edgesThe rule
We choose the nest. Where parts have matching straight edges we may cut them with one common line. Small or tippable parts may be held in the skeleton by micro-joints, small uncut bridges that you snap through.
Why it matters
A common line cuts each shared edge once instead of twice, saving cut time and scrap between parts. That lowers your price. A micro-joint keeps a part from tipping into the head (R-02), but it leaves a small nub on the edge where it breaks.
Design it right
- Tell us which edges are cosmetic or mating. We keep joints off them.
- Order several parts in the same material and thickness together so they share one sheet.
- Expect to dress joint nubs with a file or deburr.
Material Capabilities
Our fiber laser platform processes the following sheet metals with production-grade edge quality:
| Material | Max. Thickness | Typical Assist Gas |
|---|---|---|
| Mild / Carbon Steel | 0.750″ | Oxygen or Nitrogen |
| Stainless Steel (304, 316, 430) | 0.500″ | Nitrogen (oxide-free edge) |
| Aluminum (5052, 6061, 3003) | 0.500″ | Nitrogen |
| Galvanized Steel | 0.250″ | Nitrogen or Compressed Air |
| Copper / Brass | 0.125″ | Nitrogen |
For alloys or thicknesses not listed above, contact our engineering team for a feasibility review.
Submission Checklist
Before uploading your files, verify the following:
✓ File format
DXF or STEP format only
✓ Closed contours
All profiles are fully closed polylines with no open endpoints
✓ No duplicates
Zero overlapping or stacked lines on the cut layer
✓ Text outlined
All text converted to curves before export
✓ Dimensions specified
Units confirmed (inches or mm); no unitless drawings
✓ Material & qty
Material type, alloy, thickness, and quantity clearly stated