Set up once. Make more.
File review, programming, nesting, tooling, material loading, and first-article checks establish the job. A larger run spreads that fixed work across more parts.
More parts can mean less cost per part. See how shared setup, efficient nesting, and well-planned batches change the price of your next production run.
Every order combines work that happens once with work that happens for every part. Quantity changes how those costs are shared.
File review, programming, nesting, tooling, material loading, and first-article checks establish the job. A larger run spreads that fixed work across more parts.
Every unit uses stock, cutting time, bend cycles, finishing, inspection, handling, and packaging. Those costs remain as quantity increases.
Setup is divided. Sheets fill. Batches consolidate.
That is where volume efficiency comes from.
The biggest change often comes early. As the setup share gets smaller, material and per-part processing make up more of the unit price.
Keep one fixed setup cost the same, then divide it by the number of parts.
This illustrates setup allocation, not a discount percentage or a quote. Actual pricing also depends on geometry, material, thickness, finishing, inspection, and packaging.
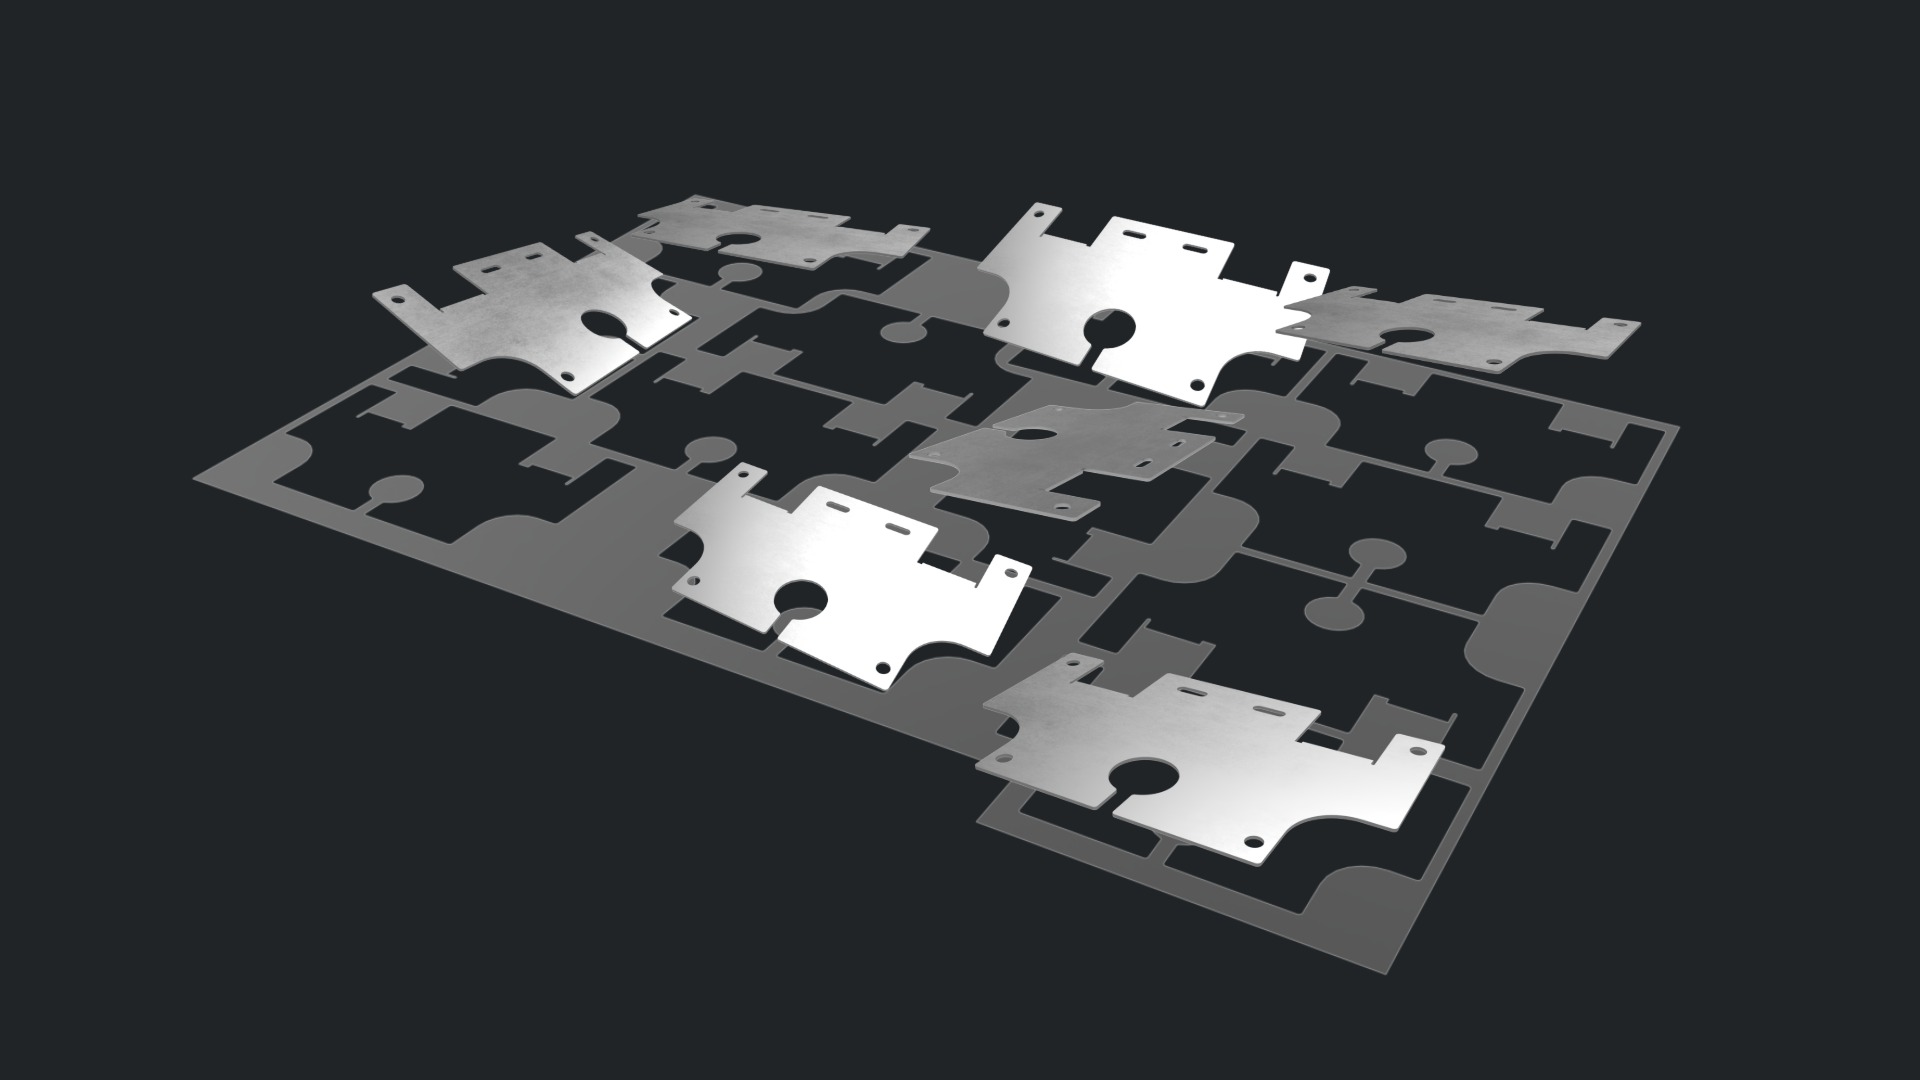
Nesting arranges compatible parts on the same sheet. Better use of the available area means less waste per finished part.
Parts must share material, grade, and thickness. Different stock cannot share a sheet.
Repeated shapes and compatible part families can fill the usable area. Smaller components may fit spaces left by larger ones.
Contour spacing, lead-ins, sheet margins, heat, grain direction, and part removal all affect the final nest.
Submit related parts together and align finish and delivery requirements so the production team can review the grouping.
A good production run coordinates the whole route. Each operation has its own mix of setup, batch capacity, and per-part work.
Shared radii and tooling families can reduce changeovers. Each part still needs its individual bend cycles.
Well-filled deburring and finishing batches share loading, process setup, cleanup, and verification across more parts.
First-article checks establish the process. Required inspection and acceptance checks continue through the run.
Consistent packaging and coordinated shipments can reduce repeated preparation while protecting every finished part.
Setup can become a small share of the price. Material, machine time, and the rest of the repeating process still set a practical cost floor.
Every unit consumes stock. Heavy or large parts may have less room for quantity-driven savings.
Cut length, piercing, bending, and complex features add work to each part.
Surface requirements, tolerances, and inspection can remain substantial parts of the cost.
Parts still need to be moved, protected, packed, and shipped.
Compare the quote for your actual design. A compact part with a large setup cost can respond very differently from a material-heavy plate.
Use these quantities as planning checkpoints. Compare the current quote at the quantities you need, then choose the run that fits your demand.
Verify geometry, fit, assembly, finish, and the current revision before carrying inventory.
Test repeatability, build beta units, or support an initial customer group.
Spread setup across a run and explore better sheet and process utilization.
Plan around a stable revision, material, finish, and repeatable demand.
Review capacity, delivery cadence, packaging, quality records, and material planning with our team.
Planning examples, not guaranteed price breaks or discount percentages. Current prices appear in your quote.
Compare your part quantitiesA larger order can improve manufacturing efficiency while tying up more cash and storage. The right quantity depends on how confidently you will use the parts.
Match the order to expected usage, delivery needs, and the cost of holding inventory.
Confirm fit and freeze the production definition before committing to a larger run.
Leave room for design updates, finish changes, and shifting demand.
Discuss related parts and delivery cadence with the team before placing a production order.
Quantity works best alongside a part that is straightforward to manufacture. Start with the stock, simplify the process, and compare the options.
Common alloy and thickness combinations improve availability and opportunities to share compatible stock.
Consistent radii, tools, inserts, and finish requirements help reduce changeovers.
Compact geometry and compatible gap-filling parts can improve sheet use without compromising function.
Submit parts together when they share stock, process needs, and delivery timing.
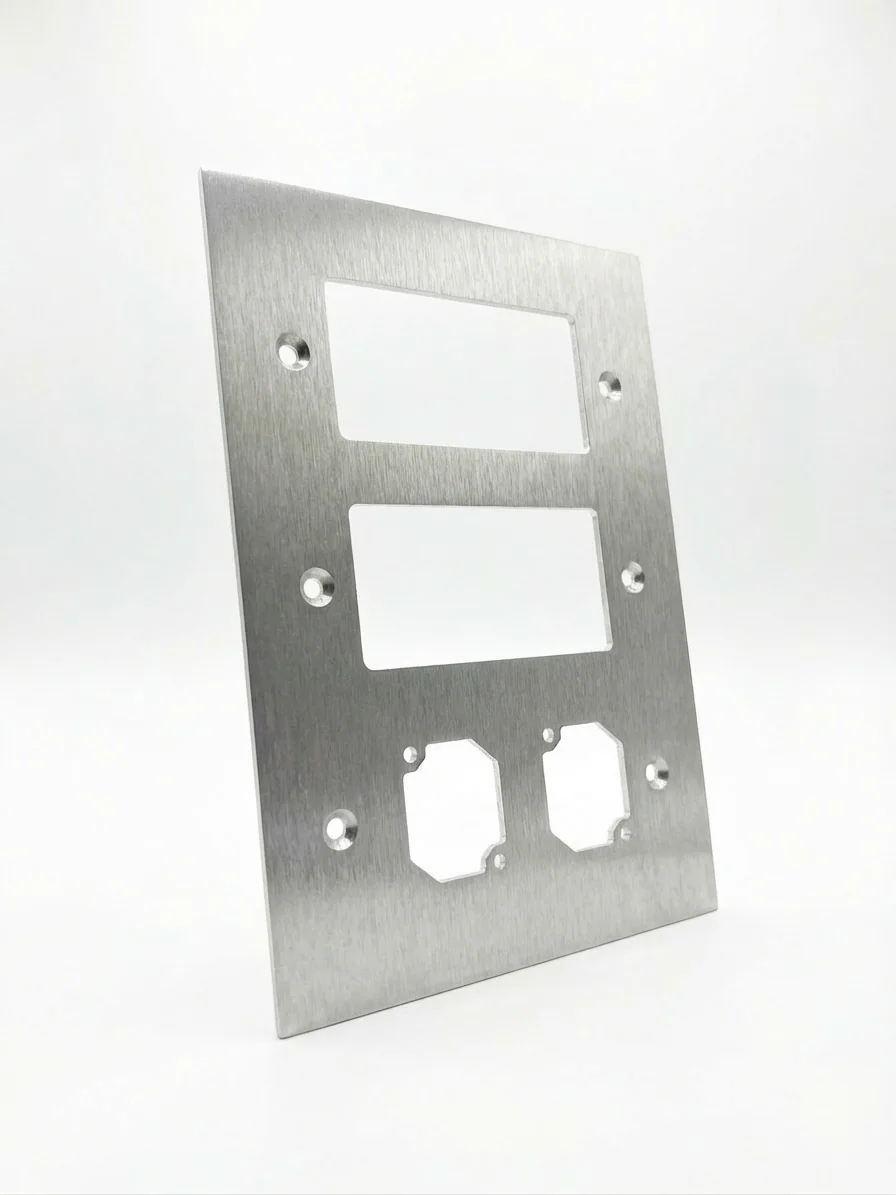
Check revision, tolerances, cosmetic surfaces, hardware, packaging, and inspection requirements.
Use prototype, pilot, and production scenarios to see how the quote changes for your actual part.
Upload your CAD file, choose the material and processes, then compare quantities before you order.