Now accepting custom orders — Get your instant quote →
← All calculators

Xeon NC / Engineering toolsCountersink Sizes

Scroll to explore
← All calculatorsXeon NC / Fastener & sheet reference

Countersink
sizes.

Match the screw.
Know the limits.

Compare countersink diameters, cone depths, and minimum sheet thickness for inch and metric fasteners.

Check a fastener

Powered by Xeon NC

01 / Size checker

Choose the fastener.
Check the sheet.

Choose an inch or metric fastener and your stock thickness. See the hole in section, check the remaining land, and take the dimensions into your design.

The checker and chart share the same sheet thickness. Dimensions are nominal; verify the actual screw, material, and tolerances before release.

Open the geometry calculator
—
82° Inch Sizes
—
90° Metric Sizes
—
Min. Land
—
Lowest nominal minimum
// Fastener cross-section To scale
Angle
Cone opens on
// Outer diameter
—
02 / Countersink chart

Choose a size for your stock.

Compare Xeon’s 82° inch and 90° metric tooling. Select stock thickness to check the 0.010″ minimum land. Expand a row for geometry and stock comparisons. Onshape drawing walkthrough ↗

Series
Units

Select a fastener row to inspect its geometry and stock fit. Scroll the table to compare all dimensions.

Nominal tooling dimensions. Depth and minimum stock are calculated; dimensions alone do not guarantee screw seating.

// The Limit That Decides Everything

The cone has to stop before the sheet does.

Every other countersink dimension comes off a fastener chart. This one comes off your material, and it is the reason most countersinks that fail on a drawing fail here.

!

Remaining land = stock thickness − cone depth.

Xeon’s nominal screening minimum is 0.010″. A thinner ring can burr or deform. This is a manufacturing screen, not a strength calculation or a guarantee that the actual screw will sit flush.

For the #8-32, 82° entry, the calculated depth is 0.095481″. Stock at 0.105″ leaves only 0.009519″ and fails the minimum; 0.125″ leaves 0.029519″ and passes nominally.

Use actual thickness and review the worst-case combination of minimum stock, maximum countersink diameter, minimum bore, and minimum included angle. Choose thicker material or a different fastening design if required. Changing to a metric screw requires checking the mating connection too.

// Fit Matrix

Which seat fits which gauge.

Countersink land checks across catalog thicknesses from 0.040″ to 0.250″. The number in each cell is the land left under the cone, in thousandths — so you can see not just whether it fits, but by how much.

// 82° vs 90°

Match the fastener, not the CAD default.

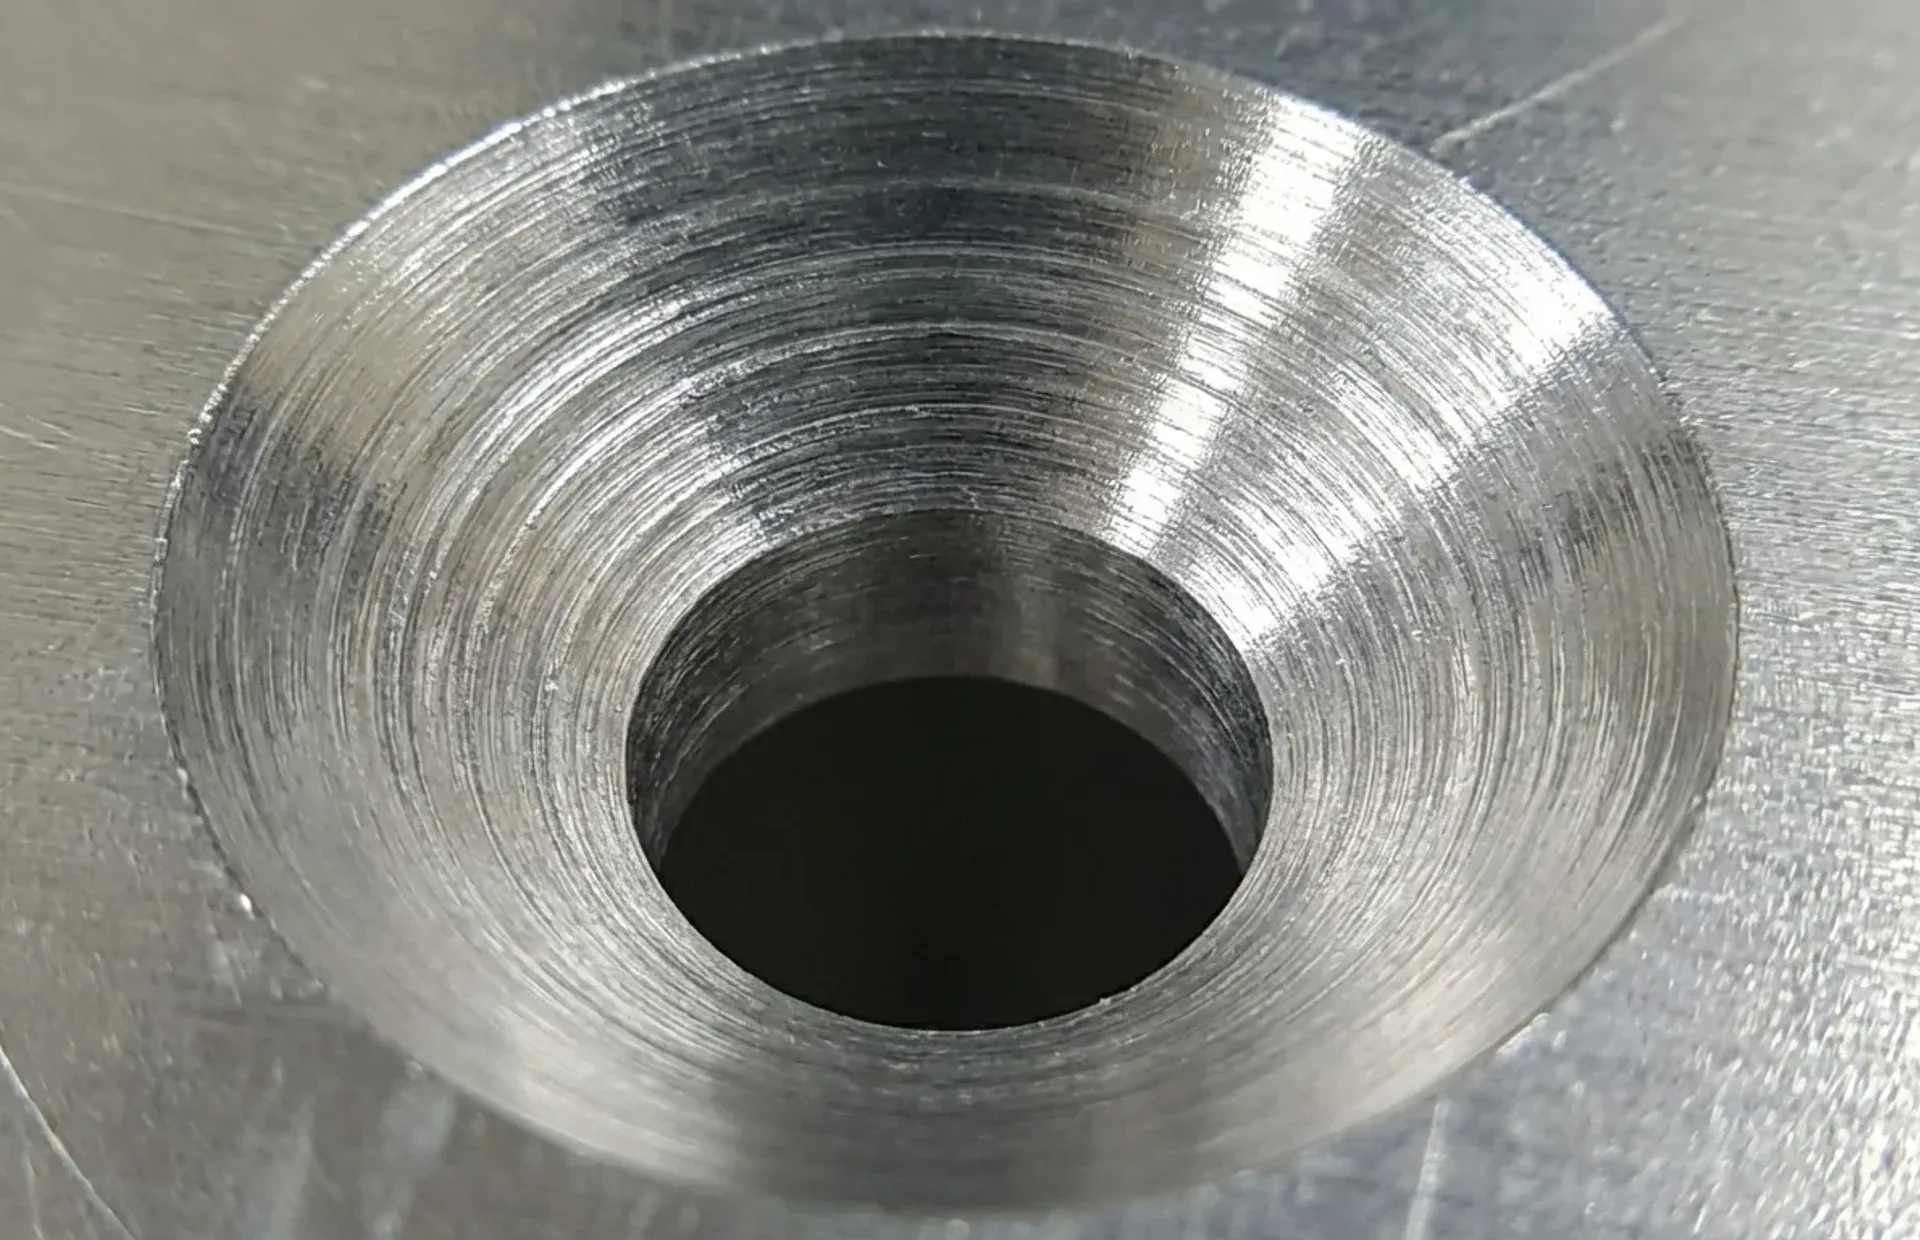
A 90° screw in an 82° seat bears on a ring instead of the whole cone. An 82° screw in a 90° seat does the same. A mismatch can concentrate contact and affect seating. The angle is set by the screw standard, and it is not yours to round off.

✕

We do not run 100° or 120° as standard tooling.

Those angles turn up two ways: as a CAD default nobody changed, and as rivet seats. 118° is a twist-drill point, not a countersink — if your model has it, it came from a hole wizard rather than a fastener. Check the countersink-angle field separately from the drill-tip angle. Match the actual fastener and ask Xeon about nonstandard tooling.

// On the Drawing

One hole note. No conflicting depths.

Give us a through-hole, an outer diameter, an angle, and a side. Also specify quantity, location, and functional tolerances. Depth is derived from both diameters and the angle; mark it as reference when included.

01
Model the through-hole, then the cone on it.
The laser cuts the through-hole; the mill plunges the cone onto it while the blank is still flat. Use the through-hole from the chart above as your laser hole, then apply a countersink feature at 82° or 90° to the tabulated outer diameter.
0.193 THRU, CSK 0.359 × 82°, NEAR SIDE
02
Dimension the outer diameter, not the depth.
Specify the major diameter at the entry surface and the included angle. Inspect using an appropriate countersink gauge or optical/profile measurement; a bore pin alone does not verify the cone. Depth follows from both diameters and the angle. Avoid independently tolerancing a conflicting derived depth.
03
Name the face.
NEAR SIDE or FAR SIDE, or TOP / BOTTOM as the part sits nested in the sheet. On a formed part the cone is milled before the brake, so decide up front whether the seat ends up on the outside or the inside of the box. A countersink on the wrong face is a scrapped cosmetic panel, and it is the most common countersink error we see.
04
Check the land before you upload.
Thickness minus cone depth, at least 0.010″. If the matrix above puts your combination in amber or grey, change the gauge or the screw now rather than finding out in DFM. Our DFM lookup explains the quote codes if one does come back.
// Common Questions

Countersinks, answered.

What people ask most often about flush fasteners in sheet metal, angles, and how thin you can go.

Should a countersink be 82° or 90°?
Match the actual fastener head. Xeon’s standard inch table uses 82° and its metric table uses 90°. Specialty fasteners can differ; verify the selected screw rather than assuming its angle from its units.
How thick does sheet metal need to be to countersink it?
Calculate depth = (major diameter − bore diameter) / [2 tan(included angle / 2)], then add 0.010″ nominal land. For #8-32 at 82°, the exact minimum is approximately 0.105481″, so 0.105″ stock does not pass. Review stock and machining tolerances before release.
Can you countersink 16 gauge sheet metal?
For stock actually measuring 0.060″, none of Xeon’s listed 82° inch entries passes the nominal land minimum. M2 and M2.5 in the 90° table pass that screen. Gauge thickness depends on material and convention; use the actual thickness and verify the mating fastener.
What is the remaining land, and why 0.010″?
Remaining land is stock thickness minus cone depth. Xeon uses 0.010″ as its nominal manufacturing screen. It is not a strength rating, a tolerance allowance, or a guarantee of flushness.
What diameter should the laser cut for a countersunk hole?
For a laser-cut pilot followed by countersinking, use the chart’s smaller through-hole diameter, subject to the agreed cutting workflow. The larger countersink diameter belongs at the finished entry surface. Dimension both and identify the operation and entry face.
How do I call out a countersink on a drawing?
Give quantity, through-hole diameter and THRU, countersink major diameter, included angle, and the identified entry face. Add location and tolerances. Treat a derived cone depth as reference to avoid conflicting acceptance requirements.
Can the countersink go on the back face?
Yes. Identify the entry face in the model and drawing. Top and bottom refer to a defined view; near and far depend on the viewing direction. For formed parts, agree how the finished entry face maps to the blank and the manufacturing sequence.
Is the countersink through-hole the same as a clearance hole?
Use the listed countersink bore for this tooling workflow and verify it against the actual fastener and fit requirements. Plain clearance tables may use different diameters. The screw designation does not make this a tapped hole.
Where do these numbers come from?
The major and bore diameters come from Xeon’s shared countersink tooling data. Cone depths, remaining land, and minimum stock are calculated from those diameters and the included angle. Original chart depths are rounded; all screening here uses full precision.

Choose the fastener.
Make the part.

Get an instant quote

Upload your STEP file and add countersinking to your quote.