Specify color & sheen
Include the RAL code, sheen, texture, and surfaces to be coated. Matte and gloss can look very different even with the same color code.
The final layer makes it yours. Durable, oven-cured color for your metal parts, with the finish and details planned from the start.
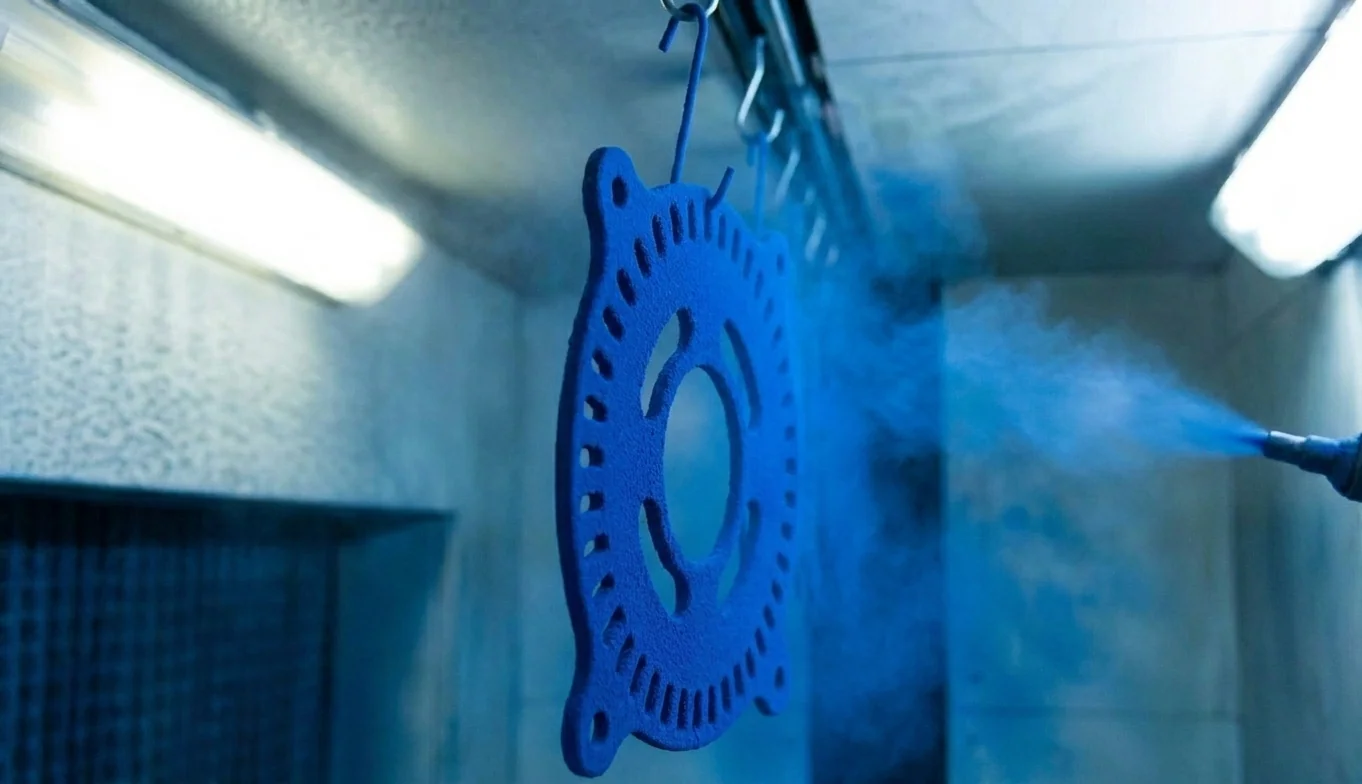
Select a color, then move the divider to compare it with raw metal. Start with these six examples and specify your preferred RAL and sheen in your quote.
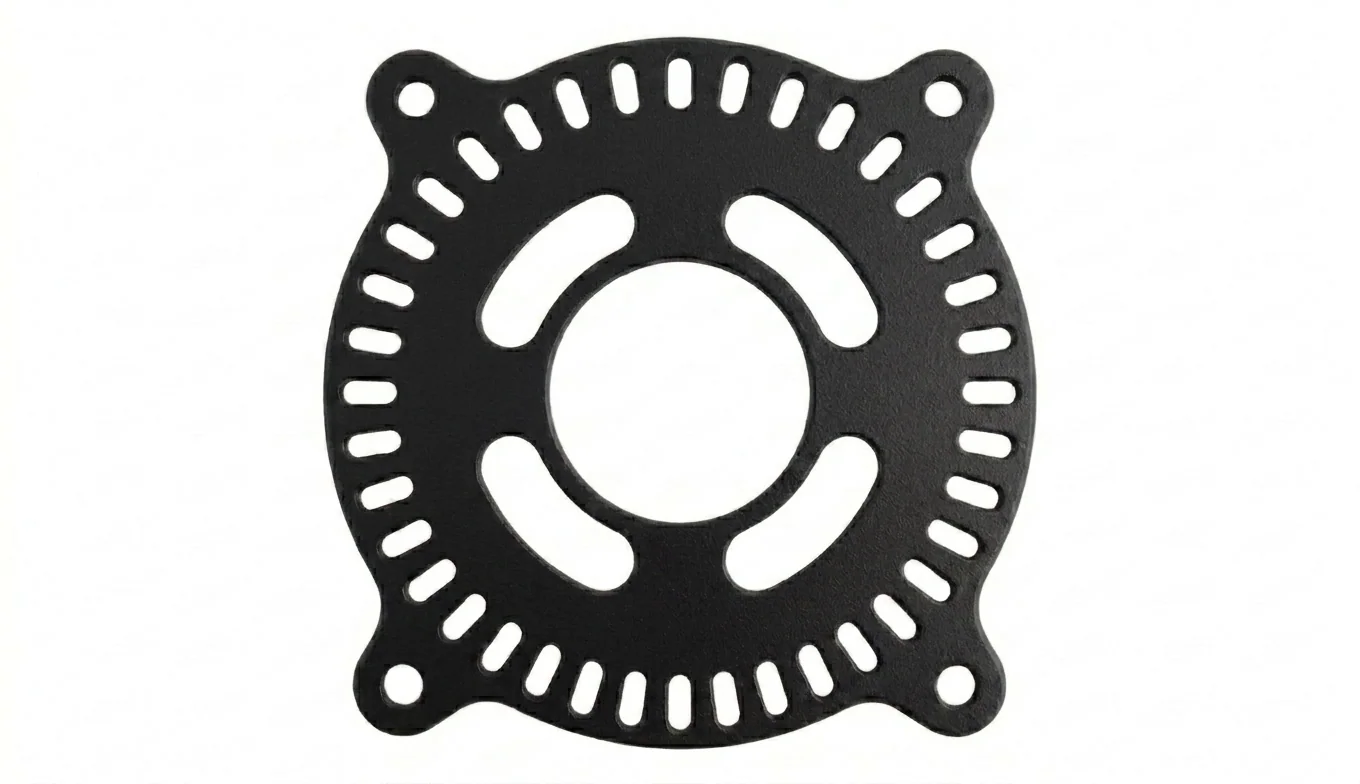
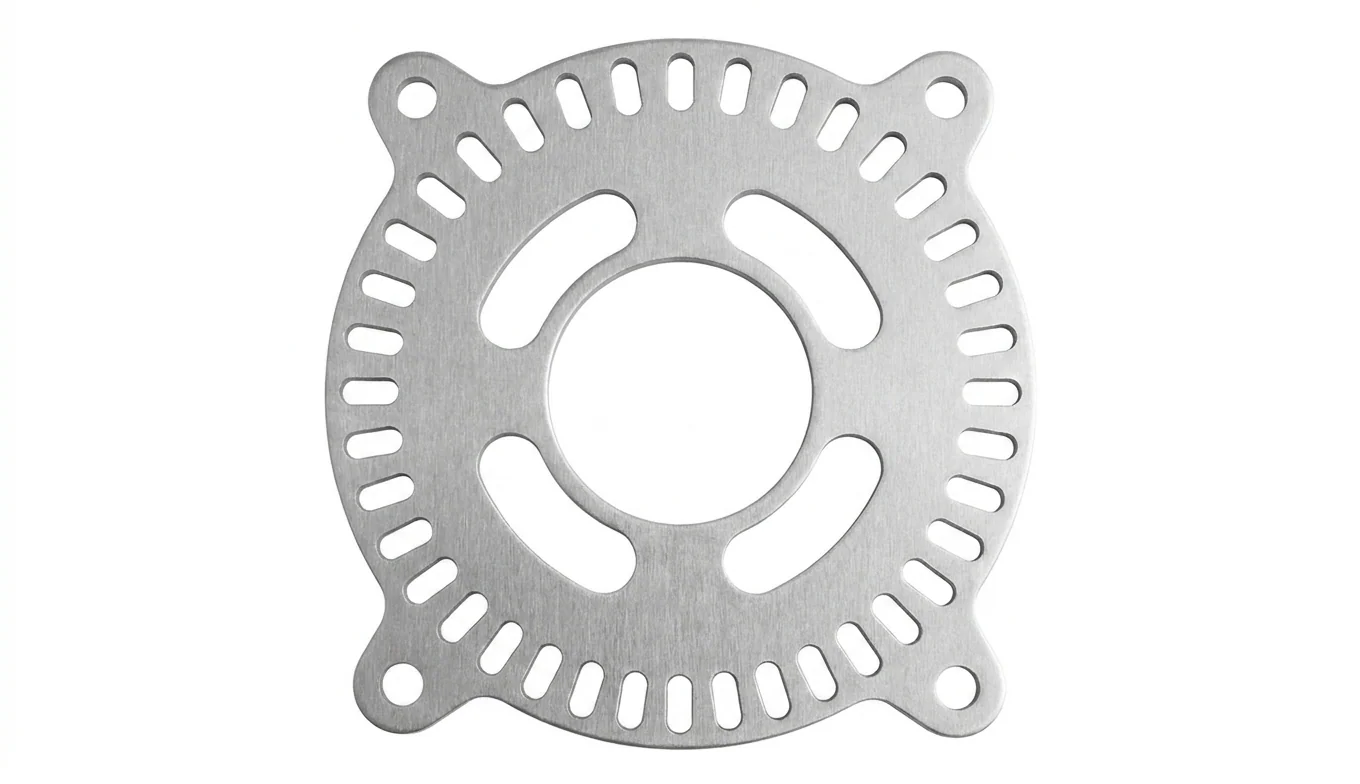
← Raw metalDrag to compare · Use arrow keysPowder coated →
A versatile, low-glare finish for brackets, enclosures, and equipment.
On-screen colors are a visual reference. Confirm the color, sheen, and texture for your order with a physical sample.
Good results start below the surface. From preparation through cure, each step builds toward a consistent, durable finish.

Remove oils, fingerprints, and surface contamination before finishing.
Use a pre-treatment suited to the metal to support adhesion and corrosion protection.
Electrostatically charged powder is sprayed onto the grounded metal part.
Heat melts and cross-links the powder into a continuous coating.
Check coverage, color, and surface appearance before packing the finished parts.
Start with your material, then choose the finish. Surface preparation depends on the substrate and the environment where your part will be used.
Include castings and welded assemblies for review. Install heat-sensitive components after coating and curing.
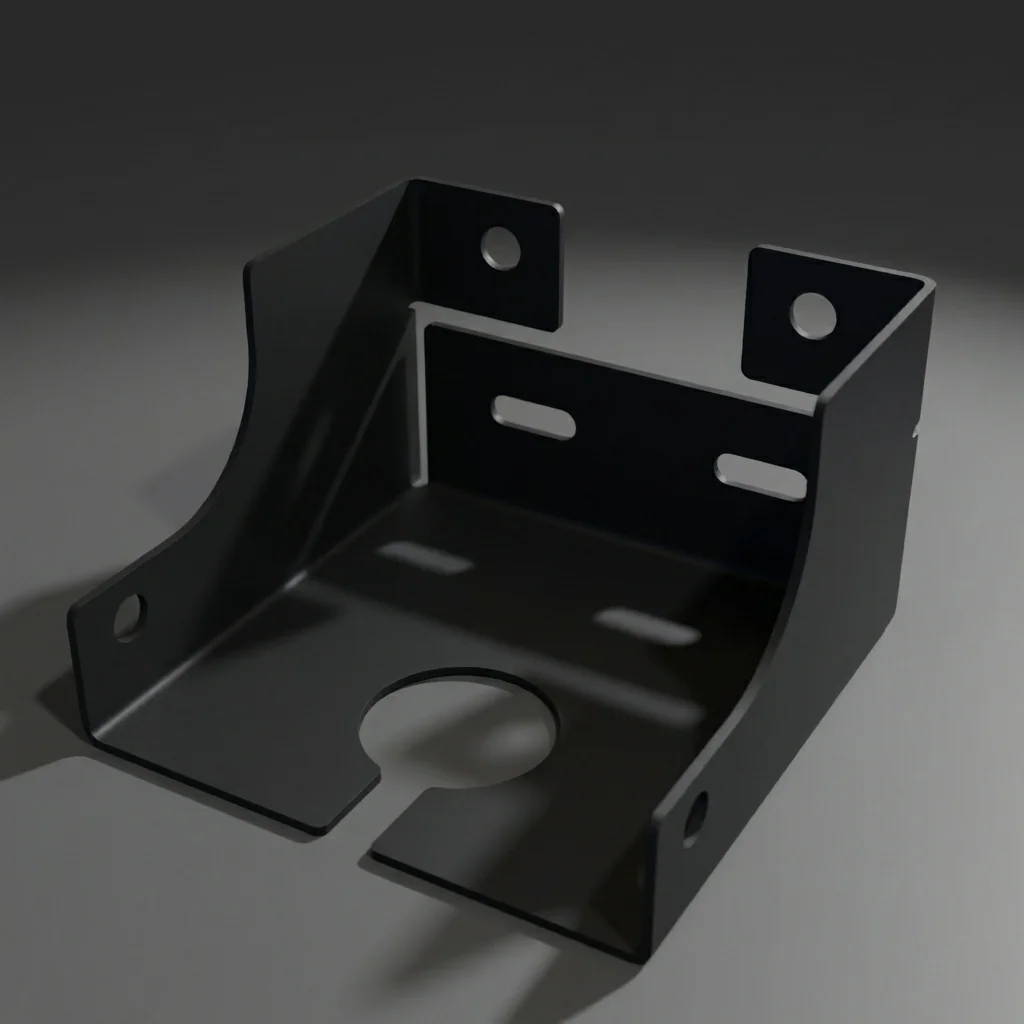
Use these specifications when preparing your drawing. Include application requirements, critical dimensions, and any surfaces that must remain uncoated.
Make your intent clear before production. These drawing callouts help protect the features that matter and keep the finished part ready for assembly.
Include the RAL code, sheen, texture, and surfaces to be coated. Matte and gloss can look very different even with the same color code.
Identify threads, press fits, grounding contacts, and other surfaces that need masking. Account for coating thickness at close-fitting features.
Every part needs an electrical contact during spraying. Identify an inconspicuous location for the small rack mark.
Plan drainage for cavities and blind pockets during preparation. Call out enclosed areas and the intended hanging orientation for review.
Break sharp edges and blend welds before finishing. Surface ridges, spatter, and other irregularities can remain visible through the coating.
Plan hardware installation with coating and masking. Add heat-sensitive items such as rubber gaskets, foam, and plastic windows after curing.
POWDER COAT, RAL 9017, SATIN, INSIDE & OUT.
MASK THREADS AND IDENTIFIED MATING SURFACES.
Upload your DXF or STEP file. Include the material, quantity, RAL color, sheen, and masking requirements to get started.