Now anodizing in-house — Get your instant quote →
Skip to anodizing overview
Aluminum finishingXeon NC · Anodized in-house

Type II
anodizing.

Color with a metallic character. A protective oxide finish for your aluminum panels, brackets, and assemblies—available clear or dyed.
Process
Type II
Finish options
Clear + dyed
Base material
Aluminum

A finish grown
from the surface.

In a sulfuric acid bath, an electrical current forms an aluminum oxide layer. The porous surface can take dye before sealing completes the finish.

01

Clean & prepare

Remove oils and prepare the surface for the requested appearance.

02

Desmut & rinse

Remove surface residues and rinse before anodizing.

03

Grow the oxide

Apply controlled current in the anodizing bath to form the oxide layer.

04

Add color

Introduce dye for a colored finish, or leave the coating undyed for clear anodize.

05

Seal the finish

Seal the pores to complete the selected finish.

03 / Color comparisonDiscuss a color match

Find your color.
See the difference.

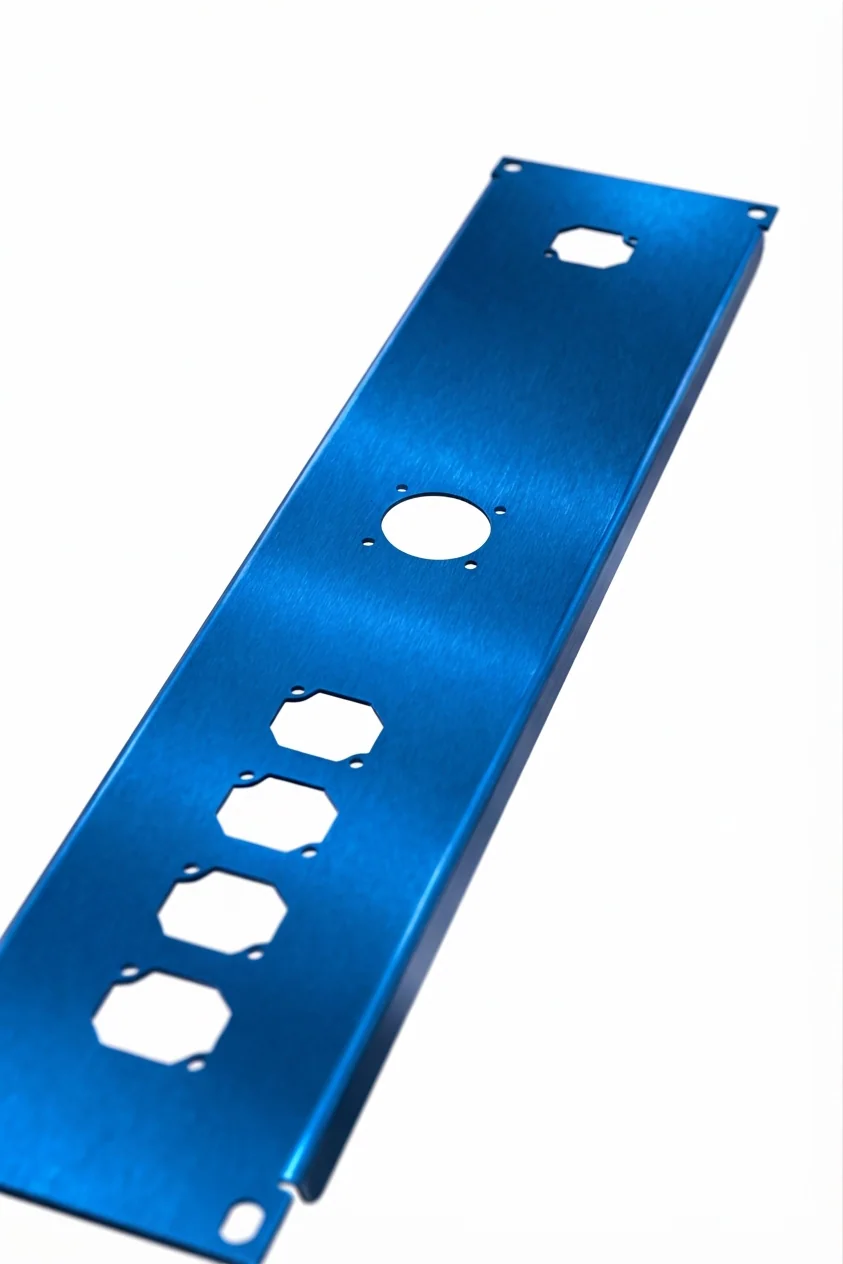
Compare a clear finish with four dyed examples. Actual color depends on alloy, surface preparation, and batch; these images are visual references.
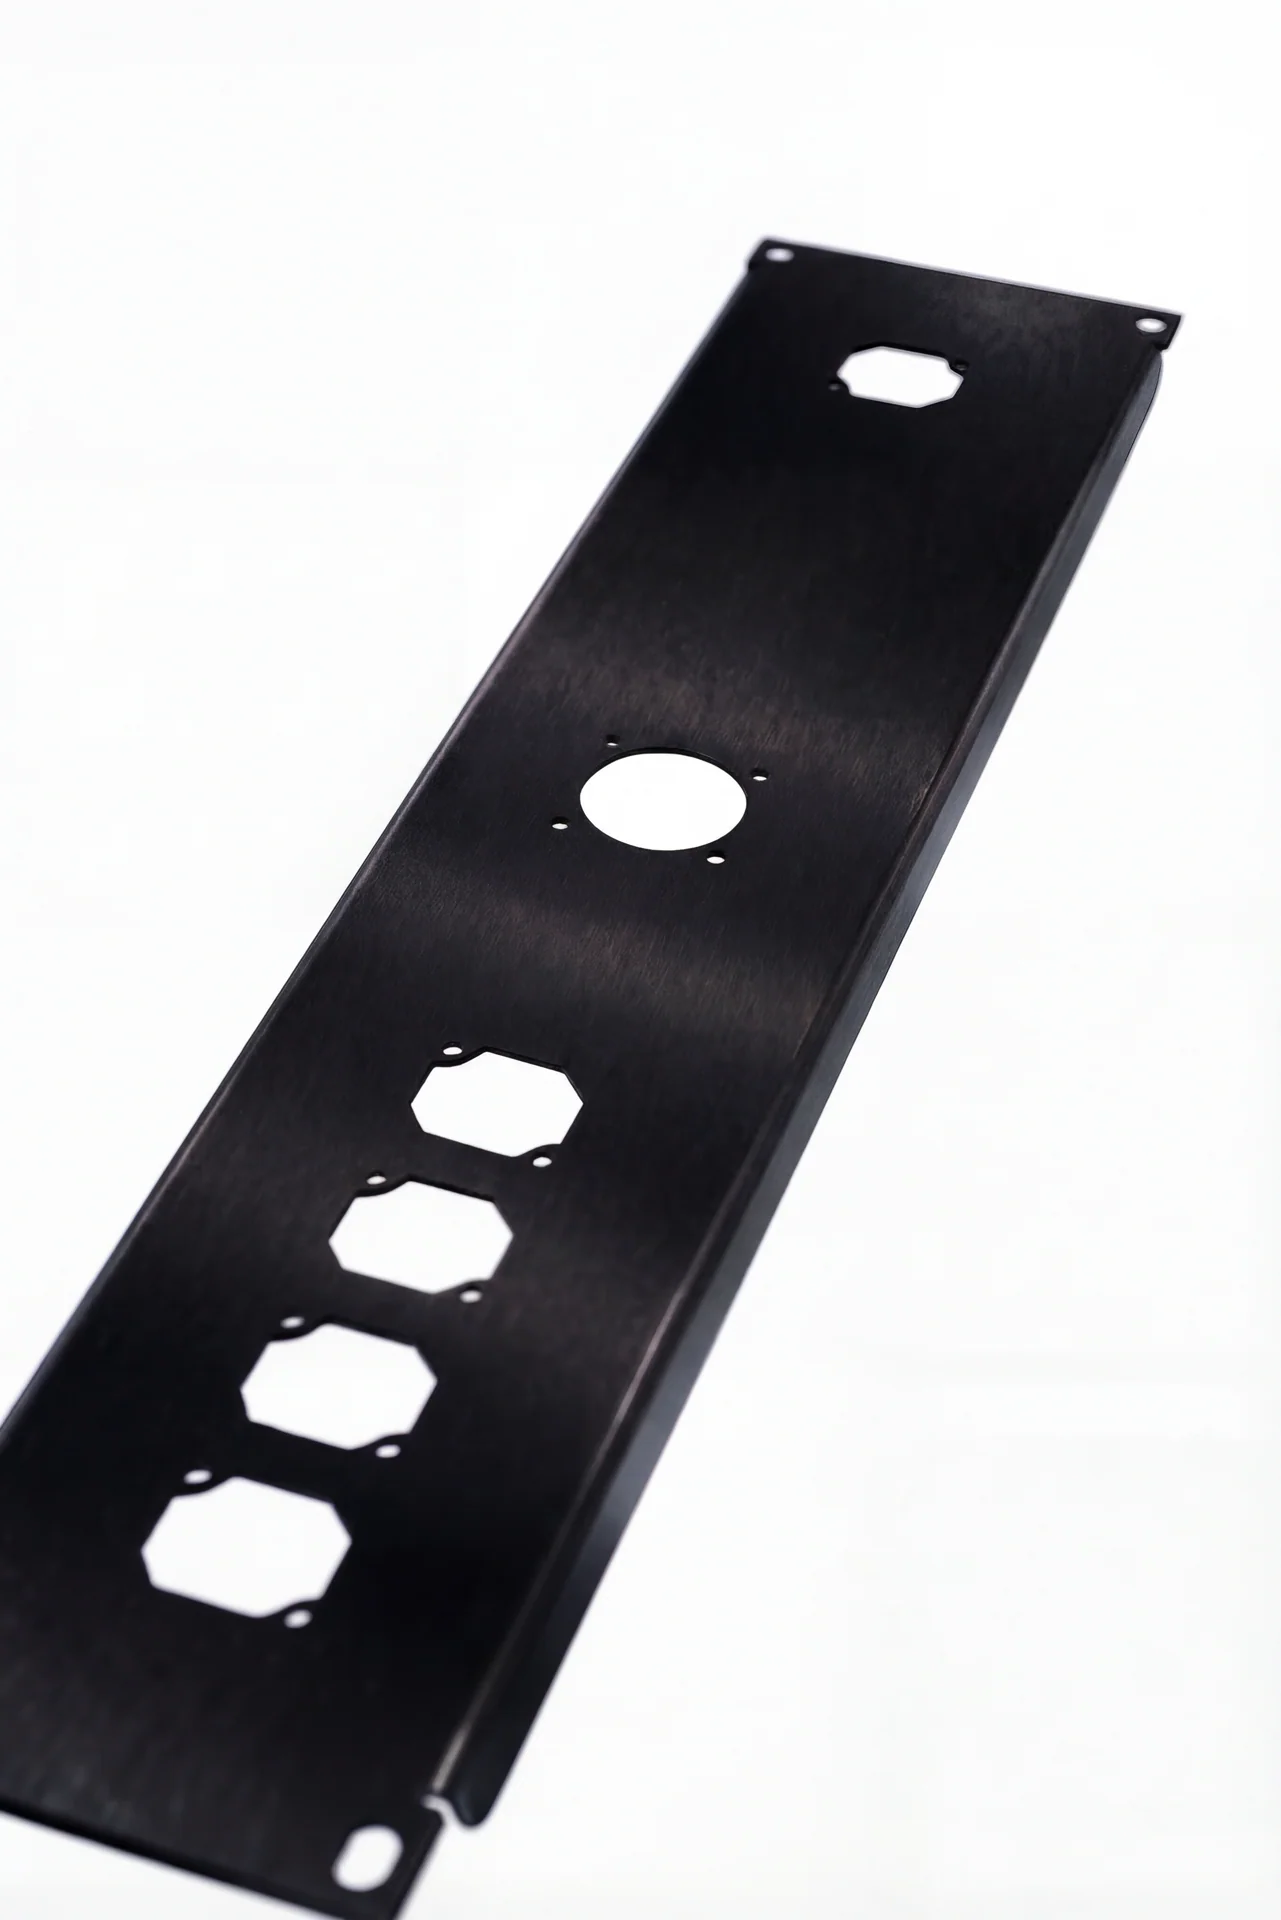
Jet black anodized aluminum sample
Clear anodized aluminum sample
Clear anodizeJet black
Undyed / Class 1

Clear anodize

The natural aluminum tone remains visible. Alloy and preparation influence the final appearance.

Dyed / Class 2

Jet black

A dark finish for panels, enclosures, and understated product details.

Need a color match? Include a reference sample
04 / Alloy & appearanceBrowse aluminum stock

The alloy shapes
the appearance.

Use the same alloy and surface preparation for parts that need to match. Clear and dyed finishes can look different across alloys, welded areas, and production batches.

5052-H32 & 6061-T6
Options for sheet metal and machined parts. Review a sample when the finish is a visible design feature.
7075 & cast plate
Expect alloy-dependent color and appearance. Discuss cosmetic requirements before production.
Steel & stainless
This service is for aluminum. Explore powder coating for other sheet metals.
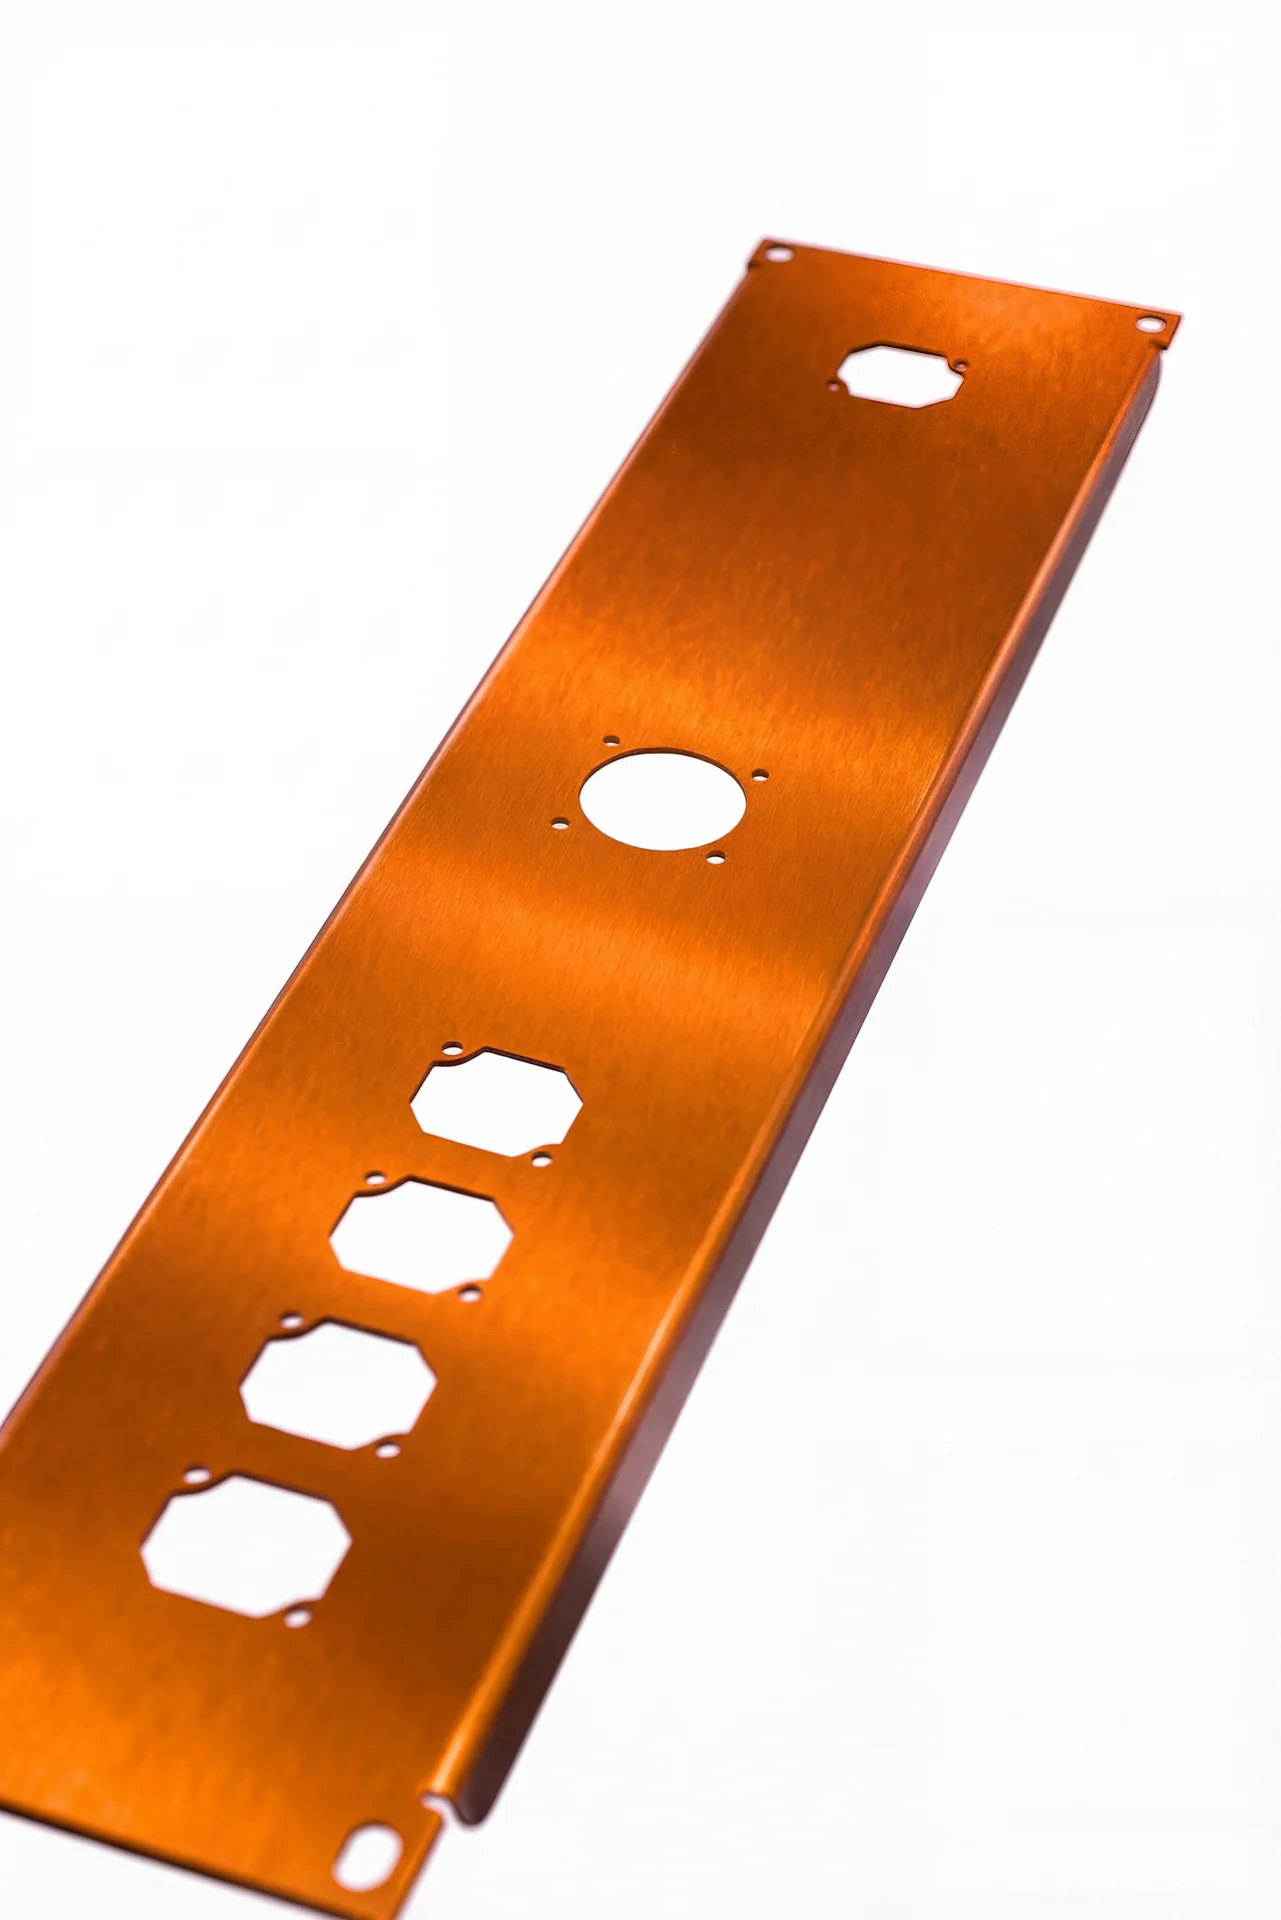
Orange anodized aluminum connector panel with round and rectangular openings
Alloy · Surface preparation · Color
05 / Finish specificationsInclude your requirements

Specify the finish.
Protect the fit.

Include the required color, coating thickness, masking, and inspection requirements with your drawing.

Process
Type II sulfuric acid anodizing for aluminum.
Finish classes
Class 1: undyed / clear. Class 2: dyed. Include the applicable specification and revision in your drawing.
Coating thickness
0.0002–0.001 in (approximately 5–25 μm), depending on the requirement. Specify the target thickness when dimensions are critical.
Colors
Clear · Black · Red · Orange · Blue · Gold · Bronze · Green · Purple. Custom matching reviewed on request.
Appearance
Alloy, temper, surface texture, and batch influence the result. Supply an approved sample for color-critical work.
Masking & rack points
Identify threads, bores, electrical contacts, and surfaces that must remain uncoated. Indicate an acceptable rack-contact location.
Process sequence
Coordinate anodizing with bending, hardware insertion, and assembly. Review steel or stainless inserts before the part enters the anodizing process.
Lead time
Typically adds 3–5 business days to production; confirm timing with your quote.
Drawing requirements
Specify the anodizing type, finish class, color, thickness, and any required testing or certification for review with the quote.

Process reference: Aluminum Anodizers Council reference guide.

06 / Design tipsPrepare your files

Small callouts.
A better finish.

Make cosmetic surfaces and functional dimensions clear before finishing begins.

Plan for dimensional change
The oxide forms partly within the aluminum and partly above it. Specify final fit requirements rather than relying on a fixed growth allowance.
Identify masked features
Mark threads, precision bores, and electrical contact surfaces that must remain bare.
Choose a rack location
Each part needs electrical contact during anodizing. Identify a discreet, acceptable contact area.
Keep matching parts together
Use consistent alloy and preparation, and flag components that need to match as an assembly.
Coordinate installed hardware
Discuss inserts and fasteners before finishing; steel and stainless hardware in aluminum require a planned installation sequence.
Flag welds and visible faces
Welds and surface variation can remain visible through anodize. Identify cosmetic faces and provide a sample when appearance is critical.
07 / Aluminum stockFull sheet metal catalog

Choose your alloy.
Check your gauge.

Browse the aluminum stock marked for anodizing in our material catalog. Each gauge links to its full material specifications.

Finished thickness is an estimate.

For comparison, the chips below assume a 0.0007″ coating with 50% outward growth on each of two faces. Actual growth varies with the process; confirm allowances for critical fits.

Browse the materials guide for stocked aluminum gauges.

Stock thickness → estimated finished thicknessColor-critical parts should be reviewed against an approved sample.
Your next part starts here

Your aluminum.
Finished in color.

Upload your DXF or STEP file, select Type II anodizing, and include the color and features that matter to your assembly.

Quote your parts